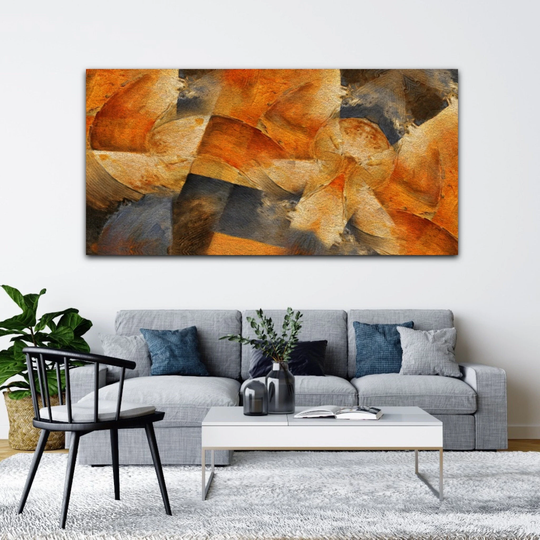
Seeing one of your own photos printed on canvas and hanging on the wall is one of the most satisfying results of all that editing work. A canvas print is less forgiving than a screen, though. Problems you never notice on a phone, such as low resolution, a tight crop or a photo that looks too dark, become very obvious at large sizes. A few checks in Photoshop before you upload your file make all the difference.
Step 1: Check the Resolution
Open your photo and go to Image, then Image Size. Untick Resample for a moment and look at the width and height in pixels. Then compare them with the print size you want. For prints viewed close up, many printers recommend around 300 pixels per inch, but canvas is usually viewed from further away and has a textured surface, so lower values are often acceptable. Always check the guidance from the company printing your canvas.
If the photo is too small for the size you want, choose a smaller canvas rather than stretching the image. Upscaling can help a little, but it cannot invent detail that was never captured. Our guide on how to resize an image in Photoshop explains the Image Size dialog in more detail.
Step 2: Crop to the Right Ratio
Canvas sizes come in fixed ratios, and your photo rarely matches exactly. Use the Crop tool and enter the ratio of your chosen canvas in the options bar, so you can decide yourself what gets cut off rather than leaving it to the printer. Pay attention to faces, horizons and the main subject.
Next, think about the wrap. On a gallery wrapped canvas, part of the image folds around the sides of the frame. That means the edges of your photo will not be visible from the front. Keep important details, such as heads, text or the tip of a mountain, well away from the edges. If your printer offers a mirrored or coloured edge, that can help keep more of the image on the front.
Step 3: Adjust Brightness and Colour
Screens are lit from behind, prints are not. As a result, many prints come out darker than people expect. A few tips:
- Lower your screen brightness while editing so you do not overcompensate.
- Use a Curves or Levels adjustment layer to gently lift the midtones if the photo looks heavy.
- Check skin tones and whites for colour casts.
- Unless your printer asks for something else, sRGB is a common choice of colour profile for consumer print services.
Make these changes on adjustment layers so you can fine tune them later.
Step 4: Sharpen for Print
Printed images often need a little more sharpening than images shown on screen, and the texture of canvas softens detail further. Duplicate your flattened image, apply a sharpening filter such as Unsharp Mask or Smart Sharpen, and view the result at 50 percent zoom to judge it. Go gently: halos around edges are a sign you have gone too far.
Step 5: Save the Right File
Save a master copy as a PSD file with all your layers, so you can return to it later. Then create a flattened copy for the printer, in the format they request, usually a high quality JPEG or a TIFF file. Name it clearly with the size and ratio, especially if you are ordering several canvases at once.
With these steps done, your photo is ready for the wall. For inspiration on how finished pieces can look in a room, take a look at our canvas and wall art section.