By identifying contrasty areas in an image, the Magnetic Lasso tool snaps to the edges between those areas, as if they were magnetic. With the Magnetic Lasso Tool, you are able to drag a quick outline around your photoshop images and it will give you an 89 -90% accuracy selection.
The Magnetic Lasso Tool – How Is It Used?
The Magnetic Lasso Tool is quite simple to use, all you need is a bit of practice. The first thing you need to do is open your chosen photo that you would like to edit, in Photoshop, and make a selection. It is suggested that the image has a strong contrast against the background. Next, you need to select the Magnetic Lasso Tool from your Tools menu.
We suggest that you switch your Caps Lock on in order to change to a precision cursor, which adds a circle around your cursor with a plus symbol in the centre of it. You will then need to start by clicking on the edge of the object you would like to select, and then continue to drag the cursor around your object. As you are going along your object, anchor points are automatically dropped along the border of the object. Once you have reached the first anchor point made, you will need to click again to complete your selection. A dotted line will then appear around your selection, this means your selection is complete.
Where Can I Find The Magnetic Lasso Tool?
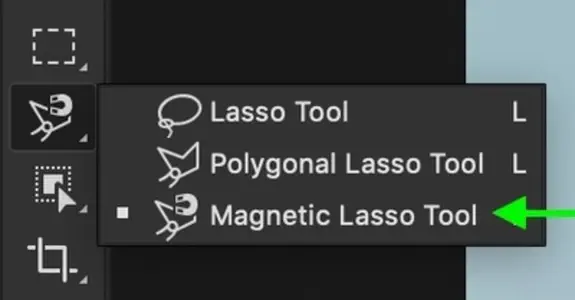
When going through the Tools Panel on Photoshop, you will notice that there are multiple types of lasso tools. You can access the Magnetic Lasso Tool by clicking and holding down the mouse button on the standard Lasso Tool icon. A small menu will appear, with all the types of lasso tools available. You will need to click on the Magnetic Lasso icon. Alternatively, you can hold the Shift key down while pressing L on your keyboard to change through the different lasso tools.